

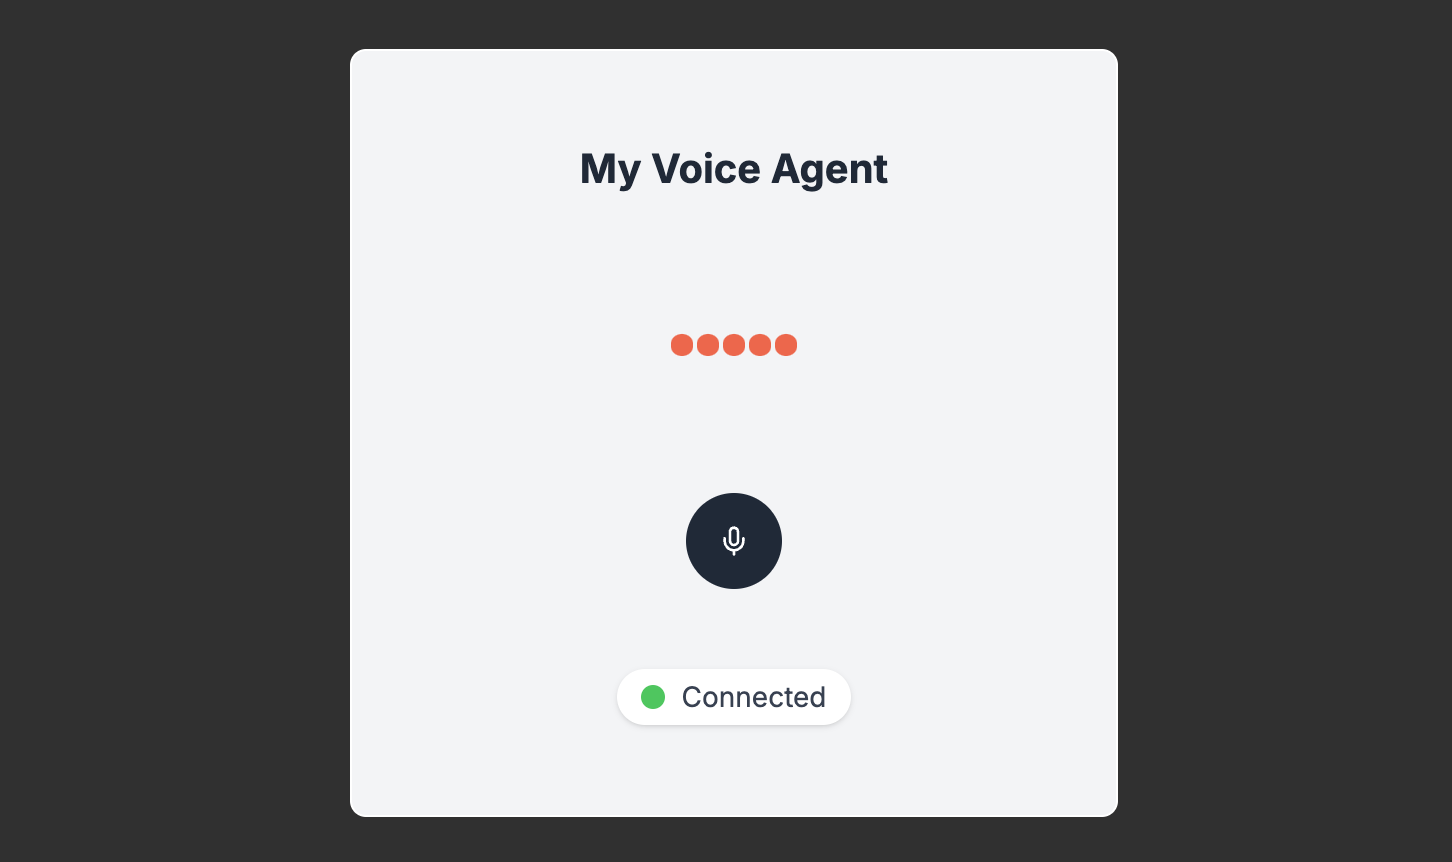
This frontend example is part of a full-stack example that also includes a web voice agent React frontend. We recommend reading the Next.js backend
guide to get the most out of this example.
Setup
To get started, you’ll need a Layercode account and a voice agent you’ve created. If you haven’t done so yet, follow our Getting Started Guide. Then follow the setup instructions in the repo README file.How it works
Connect to a Layercode voice agent
We use the React SDKuseLayercodeAgent hook which handles all the complexity required for real-time, low-latency, two-way voice agent interactions.
Here’s a simplified example of how to use the React SDK in a Next.js application:
- Your agent ID, found in the Layercode Dashboard
- The endpoint to authorize the client session (see Authorize Client Session)
- An optional callback function for handling data messages (not shown in example above)
- Make a request to your authorize session endpoint to create new session and return the client session key. Here you can also do any user authorization checks you need for your app.
- Establish a WebSocket connection to Layercode (using the client session key)
- Capture microphone audio from the user and stream it to the Layercode voice agent for transcription
- (At this stage, Layercode will call your Backend webhook to generate a response, and then convert the response from text to speech)
- Playback audio of the voice agent’s response to the user in their browser, as it’s generated
status: The connection status of the voice agent. You can show this to the user to indicate the connection status.agentAudioAmplitude: The amplitude of the audio from the voice agent. You can use this to drive an animation when the voice agent is speaking.
Authorizing Sessions
To connect a client (browser) to your Layercode voice agent, you must first authorize the session. The SDK will automatically send a POST request to the path (or url if your backend is on a different domain) passed in theauthorizeSessionEndpoint option. In this endpoint, you will need to call the Layercode REST API to generate a client_session_key and conversation_id (if it’s a new conversation).
If your backend is on a different domain, set
authorizeSessionEndpoint to the full URL (e.g., https://your-backend.com/api/authorize).client_session_key to the frontend.
This also allows you to authenticate your user, and set any additional metadata that you want passed to your backend webhook.
How it works:
-
Frontend:
The SDK automatically sends a POST request to your
authorizeSessionEndpointwith a request body. -
Your Backend:
Your backend receives this request, then makes a POST request to the Layercode REST API
/v1/agents/web/authorize_sessionendpoint, including yourLAYERCODE_API_KEYas a Bearer token in the headers. -
Layercode:
Layercode responds with a
client_session_key(and aconversation_id), which your backend returns to the frontend. -
Frontend:
The SDK uses the
client_session_keyto establish a secure WebSocket connection to Layercode.
Components
AudioVisualization
TheAudioVisualization component is used to visualize the audio from the voice agent. It uses the agentAudioAmplitude value returned from the useLayercodeAgent hook to drive the height of the audio bars with a simple animation.
app/ui/AudioVisualization.tsx
ConnectionStatusIndicator
TheConnectionStatusIndicator component is used to display the connection status of the voice agent. It uses the status value returned from the useLayercodeAgent hook to display the connection status.
app/ui/ConnectionStatusIndicator.tsx
VoiceAgentPushToTalk (optional)
Because the useLayercodeAgent hook handles all of the audio streaming and playback, in most cases the microphone button is simply a visual aid and doesn’t implement any logic. A simple microphone icon inside a circle will suffice in most cases. Layercode does support ‘push-to-talk’ turn taking, as an alternative to automatic turn taking (read more about turn taking). When using ‘push-to-talk’ turn taking, holding down and releasing theMicrophoneButton must send a WebSocket message to tell Layercode the user has started and finished talking. In this example, we provide an alternative VoiceAgentPushToTalk component, that along with the MicrophoneButtonPushToTalk component, handles this logic.
To use this mode, you’ll need to edit app/page.tsx to use the VoiceAgentPushToTalk component instead of the VoiceAgent component. Then in your Layercode Dashboard, you’ll need to click Edit in the Transcription section of your voice agent and set the Turn Taking to Push to Talk.